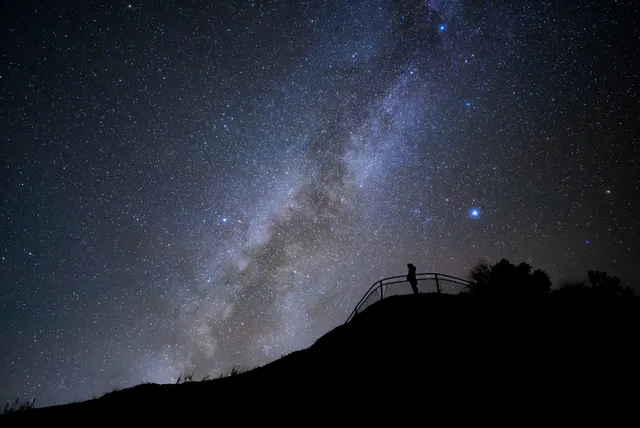

Milky Way photography requires a camera with manual controls, a wide-angle lens set to its widest aperture, and a stable tripod. Acadia rangers suggest 10 to 20 second exposures and Joshua Tree guidance suggests about 25 seconds, on moonless nights while facing south in summer. Pairing this exposure with manual focus on a distant light source produces clear night-sky images.
How to Photograph the Milky Way
Photographing the Milky Way works by gathering starlight across a long exposure while keeping the shutter brief enough to prevent earth's rotation from blurring the stars.
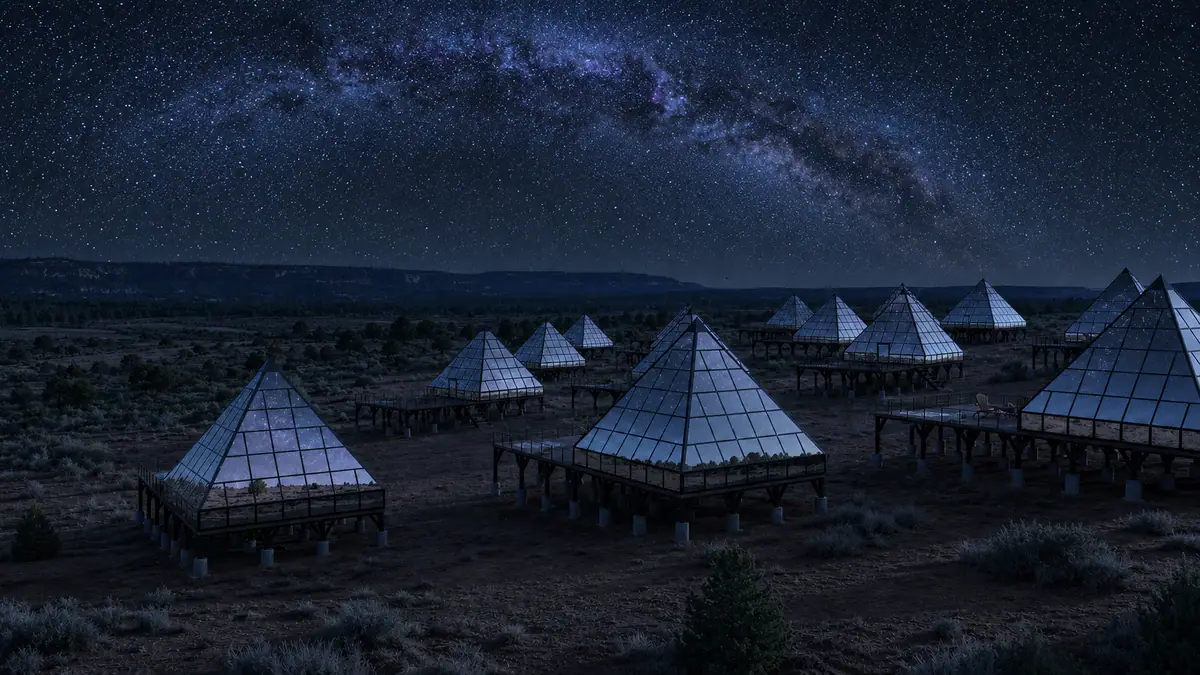
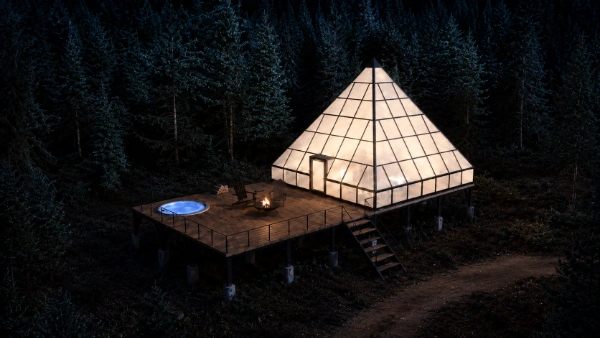
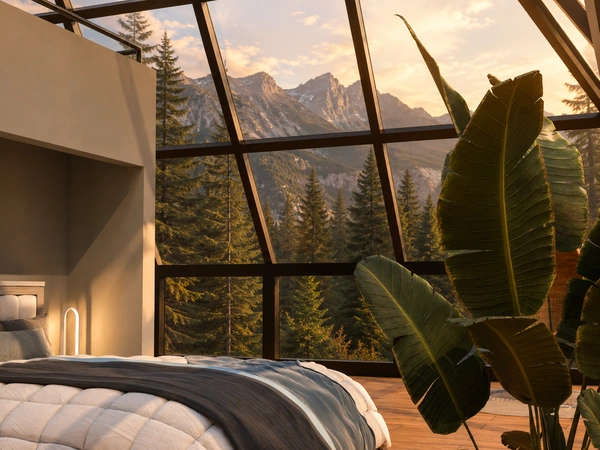
Reserve Your Stargazing Glass Pyramid
Get early access to our pyramids near Bryce Canyon and Glacier, with priority booking to all locations.
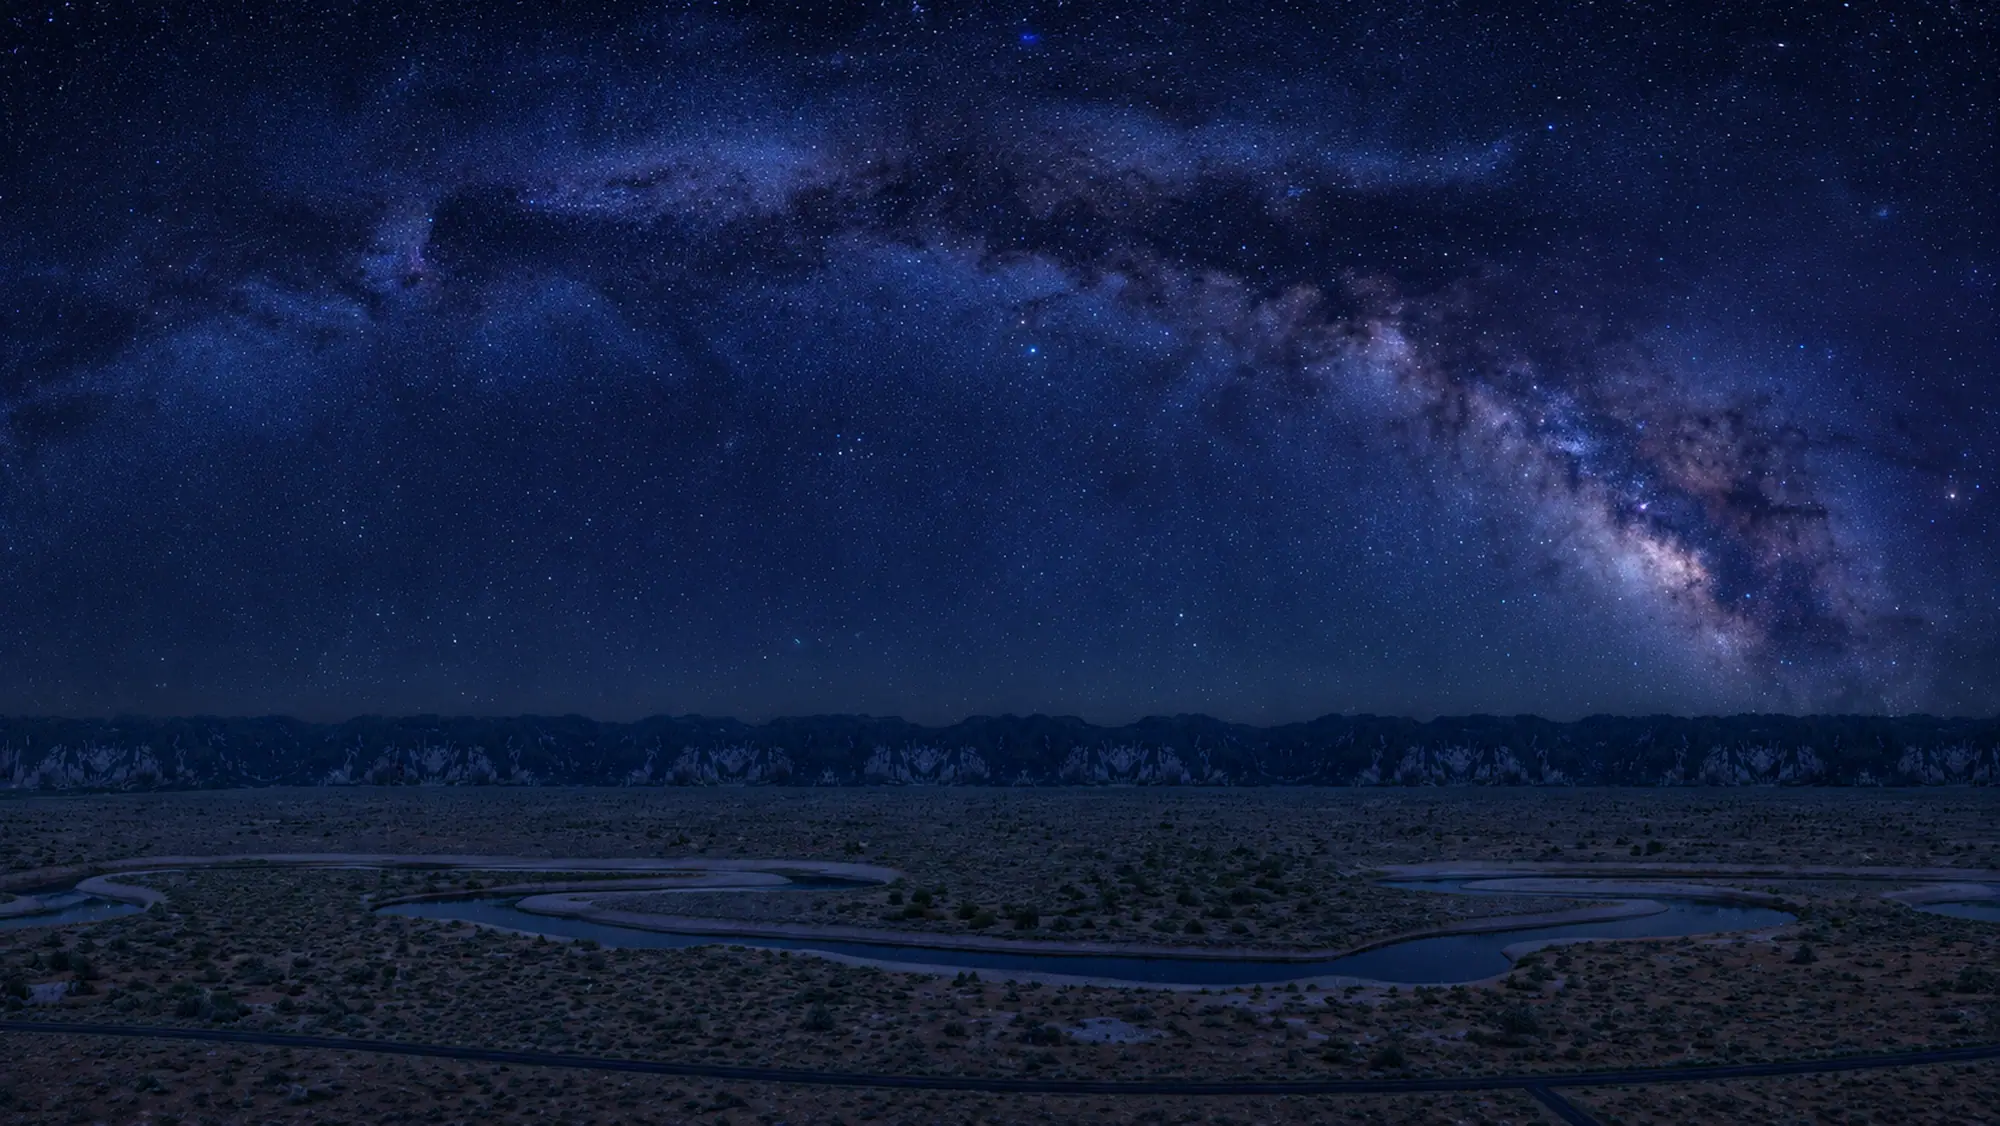
Concept renderings
Unlike human eyes, digital cameras can record faint light across several seconds. This capability is useful in low-light situations like photographing a dark landscape or the Milky Way. Leaving the shutter open too long causes star trails, which form as the earth turns beneath the sky.
To avoid trails, astrophotographers balance a wide aperture with an exposure of 10 to 20 seconds (Acadia) or about 25 seconds (Joshua Tree). Park guidance recommends using the widest aperture your lens can achieve. Starting near ISO 400 to 1600 allows experimentation without requiring extra equipment.
Focus requires manual adjustment before you take your first test shot. Focus manually using a distant bright light, such as a star, streetlight, or house.
Gear You Need
A manual-mode camera, a wide-angle lens, and a rigid tripod form the base kit for photographing the night sky.
Your camera must offer complete manual control over aperture, shutter speed, and sensor sensitivity. Acadia rangers recommend pairing a manual digital camera with a wide-angle lens. Lenses capable of apertures between f/1.4 and f/3.5 provide the light gathering needed for dark skies.
A sturdy tripod keeps the camera completely stationary throughout the exposure. Joshua Tree guidance notes that a sturdy tripod prevents vibration and shaking.
Use a two to five second self-timer, shutter remote, or smartphone if your camera is capable. A flashlight or headlamp covered with a red filter protects your night vision in the field.
Starting Camera Settings
Starting camera settings balance light capture against digital noise and star trailing.
Different dark-sky environments call for different initial baselines. Guidance published by the National Park Service highlights two distinct starting points developed by Acadia rangers and Joshua Tree National Park. Acadia recommends starting at ISO 400, while Joshua Tree suggests ISO 1600 or higher. You can review the original Acadia night photography guidelines and the Joshua Tree stargazing guide for individual park context.
| Setting | Acadia Park Guidance | Joshua Tree Park Guidance |
|---|---|---|
| Aperture | Widest available, f/1.4 to f/3.5 | Widest available, f/2.8 ideal |
| ISO | Start at 400 and adjust higher | Start at 1600 or higher |
| Shutter Speed | 10 to 20 seconds | 25 seconds |
| Support | Sturdy tripod | Sturdy tripod |
Begin with one of these baselines and adjust a single setting at a time. Experiment by changing only one setting (f-stop, ISO, or shutter speed) at a time. Leaving the shutter open too long causes star trails as the earth rotates. Acadia guidance notes that a lower ISO produces better image quality.
When and Where to Shoot
The galactic center appears brightest during moonless summer nights when pointing toward the southern horizon.
Moonlight washes out distant celestial structures, reducing the number of stars visible in the frame. Plan your shoots around the new moon or during hours when the moon sits below the horizon. The bright core of the Milky Way sits in the southern constellation Sagittarius, which remains visible in the northern hemisphere from June through August not long after sunset. Being awake at 4 a.m. also provides an alternative window to view the galactic center.
Consult the Bortle scale guide and Dark Sky Parks guide to evaluate viewing sites.
Bryce Canyon offers extraordinary vantage points along its rim. As highlighted in the Bryce Canyon stargazing guide, Sunrise Point provides nearly 360-degree views with flat walking access. Inspiration Point sits right next to parking and offers sweeping vistas. Whiteman Bench Picnic Area at mile 9.5 of the park road registers some of the darkest darkness readings in the park. For framing stone spires beneath the stars, Queen's Garden Trail positions hoodoos to the south, east, and west, while Navajo Loop frames tall rock fins to the north and east.
Protecting Your Night Vision and Field Safety
Human eyes require 20 to 30 minutes in total darkness to develop maximum visual sensitivity.
Exposing your eyes to a bright smartphone screen or a white flashlight resets this adaptation process immediately. Use only red lights while checking camera dials, swapping lenses, or navigating trail paths. You can modify standard flashlights by placing red cellophane, red paper, red fabric, or red tape over the lens. Amber and red light sources protect dark adaptation and keep night vision intact.
Temperatures drop quickly in the evening, so plan ahead for changing conditions. Bring extra layers of warm clothing to stay comfortable in the dark. A lightweight folding chair keeps you comfortable, while a red light helps you watch for uneven surfaces and hazards.
Audience Exclusions and Changing Conditions
Manual astrophotography requires dedicated camera controls and clear access to naturally dark skies.
Who This Setup Does Not Serve
This approach does not suit casual smartphone photographers who rely on automatic exposure modes. Travelers without a sturdy tripod will also struggle, as long exposures require stationary support to prevent shaking. If you travel without manual camera gear, attending a park telescope program provides a simpler way to experience the night sky.
What Would Change Our Guidance
Our technical recommendations change if you photograph from suburban skies or switch to dedicated tracking hardware. Shooting under brighter skies requires adjusting your exposure settings to account for surrounding light. Adding specialized tracking equipment can counter star trails during longer exposures without the standard time limits.
Our Takeaway on Milky Way Photography
Milky Way photography is within reach of anyone with a manual camera, a wide lens, and a solid tripod.
Extra tracking gear is unnecessary for clean starting exposures. Start with baseline ranger settings, adjust one parameter at a time, and choose a moonless summer night far from urban glow. Because camera sensors and skies vary, treat published numbers as flexible starting points.
Photograph the Milky Way from Your Own Glass Pyramid
Glass pyramids provide an immersive vantage point for stargazing and night photography directly from private land.
At Dark Light Collection, we offer glass pyramids on private land about 15 minutes from Bryce Canyon National Park and within 15 minutes of Glacier National Park's West Entrance. Pyramids are arranged in an Orion's Belt pattern in 8 m and 9 m base sizes. Each unit features triple-pane glass coated with Low-E film that blocks 99% of ultraviolet rays, paired with integrated heating elements for snow melt. Smart privacy glass tints at the tap of a button, letting you transition smoothly from total transparency to secluded rest.
Inside, a king bed is positioned for sky-gazing throughout the night. Step out onto your private deck to set up your tripod, gather around the fire pit, or relax on heated loungers. Each accommodation includes an en-suite bathroom, a functional kitchenette, app-controlled climate systems, biometric door locks, and a personal deck telescope. Guests receive nightly downloadable astrophotography captured directly from the property coordinates, alongside access to concierge-coordinated astronomy sessions and golden-hour photo tours.
Founding reservations are open now with introductory pricing and priority pyramid selection across both destinations. Every founding booking remains 100% refundable less a $30 processing fee until 60 days before arrival. Reserve your pyramid today to secure priority access to our private stargazing retreats.
Explore the Dark Sky Parks guide to plan your next celestial trip.
Frequently asked questions
How do they photograph the Milky Way?
Photographers capture the Milky Way by mounting a manual-mode camera and wide-angle lens on a sturdy tripod. Park guidance recommends starting with f/1.4 to f/3.5, ISO 400, and 10 to 20 seconds (Acadia rangers) or f/2.8, ISO 1600 or higher, and about 25 seconds (Joshua Tree). Focusing manually on a distant bright star ensures the points of light remain sharp across the night sky.
What is the best time of year to photograph the Milky Way?
The galactic center is best photographed from June through August in the northern hemisphere, when the core rises not long after sunset. Shooting during a new moon prevents bright moonlight from washing out faint stars. Observing around 4 a.m. also provides an alternative window to see the galactic center.
What ISO should you use for Milky Way photography?
A practical starting baseline is ISO 400, adjusting upward to ISO 1600 or higher depending on camera sensor performance. Lower ISO settings yield cleaner images with less grain, while higher settings reveal dimmer stars in darker skies. Test your own camera to find the cleanest balance.
Where do you point the camera to photograph the Milky Way?
Point your camera toward the southern horizon to photograph the vibrant galactic center in the constellation Sagittarius. Summer skies position the galactic center directly to the south not long after sunset. Hoodoos make a strong foreground.
How do you protect your night vision while photographing?
Use only red or amber lights when adjusting camera dials, swapping lenses, or checking trail footing. It takes 20 to 30 minutes for human eyes to fully adapt to deep darkness, and bright white lights or smartphone screens delay this process. Covering an ordinary flashlight with red cellophane or red tape offers simple eye protection in the field.
Reserve Your Stargazing Glass Pyramid
Get early access to our pyramids near Bryce Canyon and Glacier, with priority booking to all locations.
Reserve Your Pyramid Why dark sky →